Introduction.
As video content becomes increasingly important, adding subtitles that are easy for viewers to understand is an essential part of video production. Especially on social networking sites and platforms such as YouTube, subtitled videos have proven to increase viewer engagement.
So, in this article, we will explain how to add subtitles using the video editing tool CapCut, utilizing the auto-captioning feature of CapCut, which allows you to efficiently create high-quality subtitles and save a lot of time.
What is CapCut’s automatic captioning feature?
How automatic captioning works
CapCut’s automatic captioning feature utilizes AI to automatically recognize audio in videos and convert it into text. This feature eliminates the need to manually input subtitles and allows you to create videos with subtitles in a short amount of time. This is a significant time saver, especially for long videos or videos with a lot of dialogue.
Accuracy of automatic captioning
CapCut’s automatic captioning is multilingual and automatically recognizes speech in a variety of languages, including English and Japanese. However, a noisy environment or unclear pronunciation of the speaker may reduce recognition accuracy. Therefore, improving audio quality during recording is the key to accurate subtitling.
For more information on how to create a clear audio environment, please refer to this article.

In what situations is it useful?
Automatic captioning can be used in all kinds of situations, including educational videos on YouTube, short videos for social networking sites, and product introduction videos. Subtitled videos can increase viewer engagement because they can be understood by users who are viewing in environments where sound is not available. Subtitles also contribute to SEO and improve search engine ratings of the video content.
How to set up automatic captioning in CapCut
Steps to create an automatic caption
Creating automatic captions with CapCut is easy. Follow these steps
Launch CapCut and import your video file
First, import the video files you wish to add subtitles to into CapCut. You can easily add files by drag & drop.
Select the “Caption” feature
Click on the “Text” tab at the top of the editing screen and select “Auto Captioning”. This will bring up the auto captioning setup screen.

Select Language
If the audio of the video is in Japanese, select “Japanese” to perform speech recognition. Since it is multilingual, it can be applied to videos in other languages as well.
Caption Generation
Once the settings are complete, click “Start” and the AI will analyze the audio and automatically generate captions. Generation may take a few seconds to a few minutes.
Edit auto-captions
Automatically generated captions require content review and correction; AI captions may not be accurate in grammar and punctuation, so manual correction is recommended. Editing is as simple as clicking on the caption text. You can also customize the font, color, and size of the captions.
Text timing adjustment
One of the great advantages of automatic captioning is that the timing of each line of dialogue is set automatically. When entering captions manually, one must listen to the audio to see where the dialogue begins and ends, and then cut the captions accordingly. This takes a lot of time and effort, especially for long videos or content that frequently switches between lines of dialogue.
With the automatic captioning feature, AI analyzes the audio to automatically determine the beginning and end of lines and generates captions with precise timing. This greatly reduces the need for manual timing adjustments and makes the subtitling process much more efficient. This automatic timing setting is especially useful for videos with a lot of dialogue or scenes where conversations switch quickly.
Of course, some fine-tuning may be necessary, but it is much faster and more efficient than manually setting the timing from scratch. CapCut’s automatic captioning feature reduces these tedious tasks, leaving more time for other creative aspects of video editing.
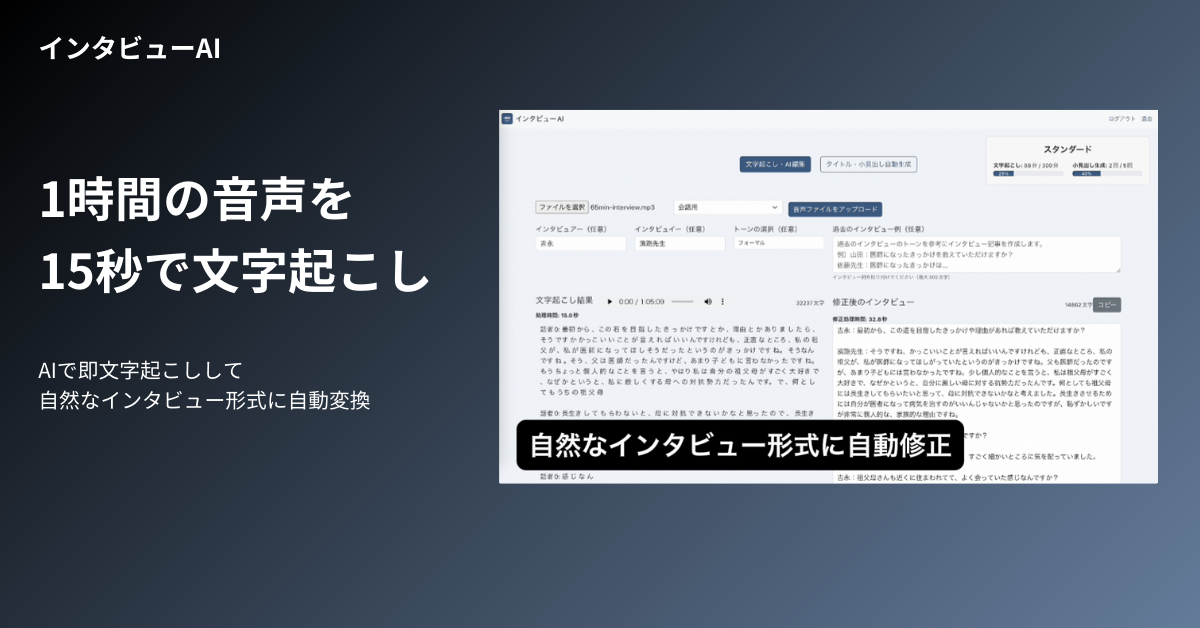
Interview AI transcribes an hour of audio in just 15 seconds and also automatically converts it into a natural interview format.
https://app.interview-ai.site/
Tips for creating visually appealing subtitles
How to choose fonts and styles
CapCut allows you to customize the font and style of your captions. It is important to choose a font that is easy for viewers to read and that visually fits the mood of your video. For example,a simple sans-serif font for business-oriented videos and a handwriting-style font for casual videoscanbe effective.
Text alignment and size
Caption placement also affects the viewing experience. Subtitles are generally placed at the bottom of the screen so that they do not interfere with the video content. However, if the subtitles are too small, viewers will have difficulty reading them, so it is important to choose an appropriate font size based on the screen size. Larger subtitles should be used if the video will be viewed mostly on mobile devices.
Use of color and background
The color and background of the captions are also important. In videos with light backgrounds, white subtitles may not stand out as much, so adding a black border or shadow effect can improve visibility; CapCut allows you to visually enhance subtitles by adding a background color or shadow. This makes it easier for viewers to focus on the subtitles.
summary
CapCut’s automatic captioning feature makes it easy to add subtitles and create videos that are easy for viewers to understand. By utilizing automatic captioning, you can greatly reduce the time required to create subtitles and streamline your video editing process.
However, automatically generated subtitles may require manual editing for accuracy. Increase viewer engagement and video quality by choosing the right fonts, colors, and placement to create visually appealing subtitles; reach a wider audience and deliver quality content through efficient video creation with CapCut.

